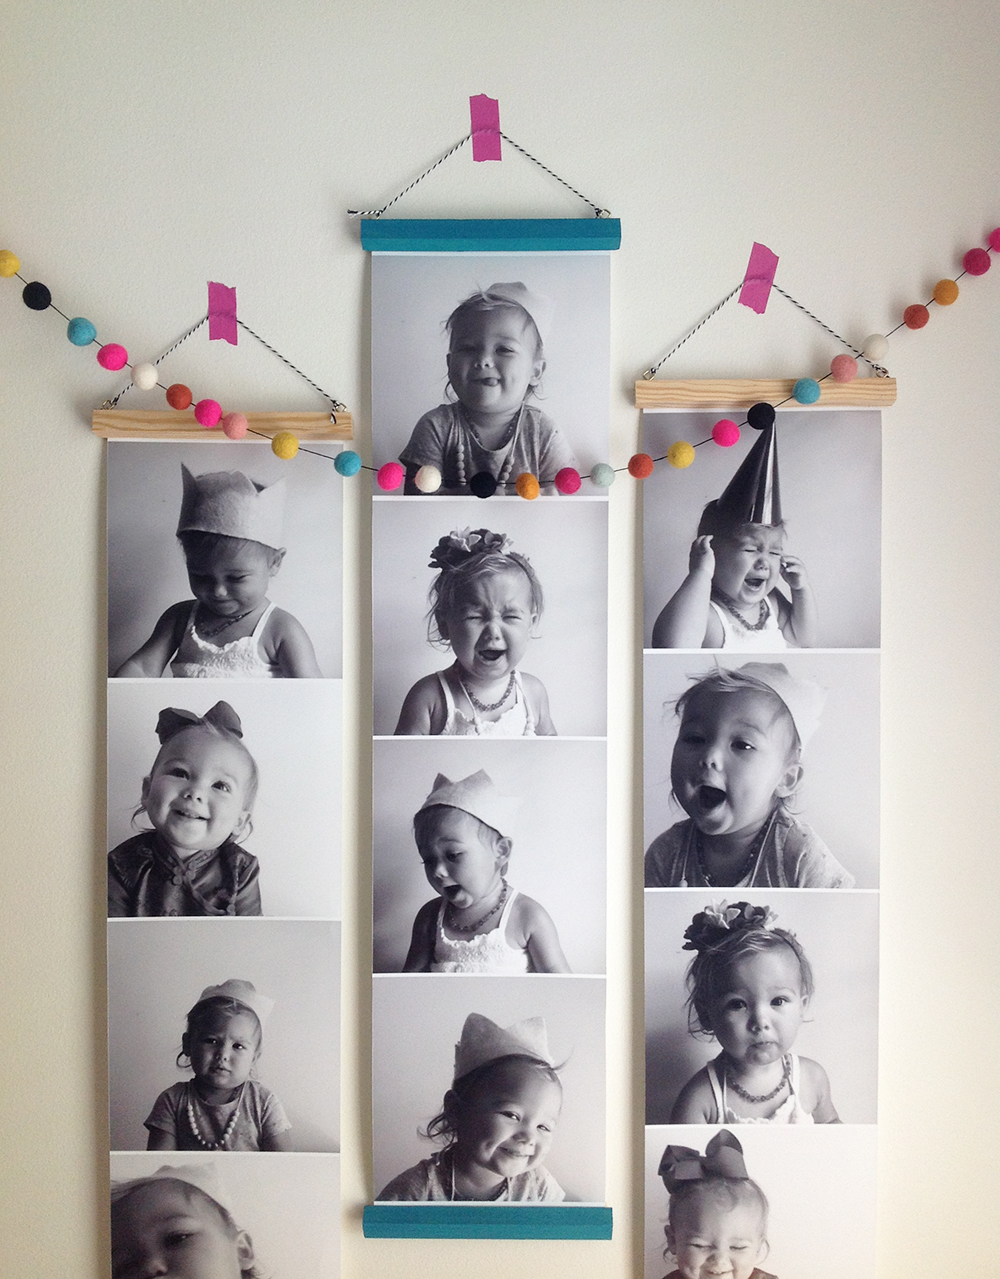
Are you familiar with Lay Baby Lay, a nursery inspiration blog? If not, you should definitely check it out. Joni began Lay Baby Lay shortly after the arrival of her first baby as a place to provide fresh and unique nursery inspiration, with a little dose of motherhood experience too. Soon after, I discovered her creative space and have been an avid reader. I first met Joni in middle school (can you believe that?) and have always been inspired by her creativity. Recently she shared this adorable tutorial on DIY photo booth prints and I couldn’t resist attempting a similar project with my little one.
She describes this project as, “super easy, quick, and inexpensive” – all of which I can agree with, except for quick. I’m sure it has to do with the different ages of her girls and Joy Belle, but getting my little priss to sit and let me take a dozen or so photos in front of a white wall was a bit of a challenge. We ended up making it 3 photo sessions, hence the wardrobe changes. And I threw the “all smiles” out the window, because she looks so cute crying and pouting.
What you will need:
- photos of your little one(s)
- 3/4″ dowel or wood trim
- eye hooks
- string, yarn, twine, or ribbon
- a staple gun
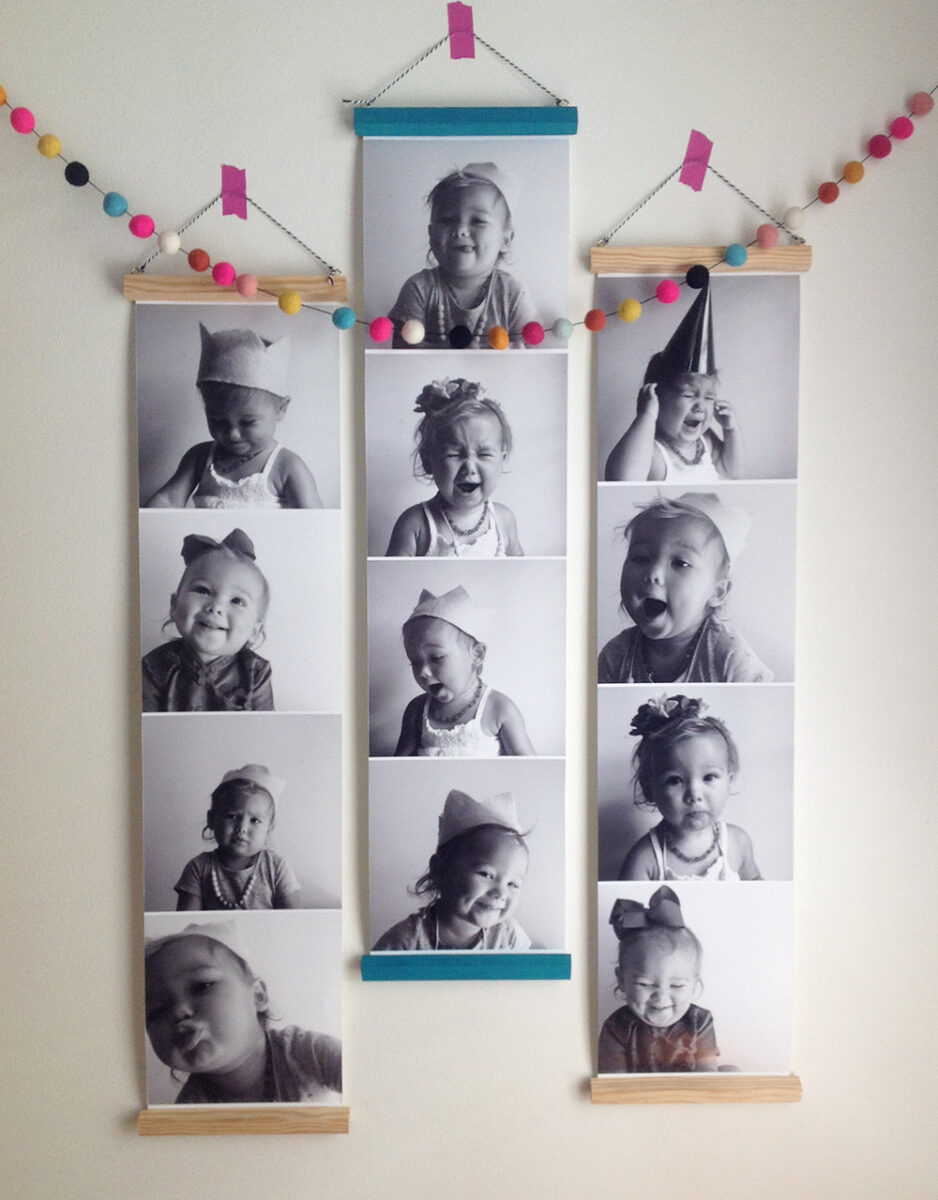
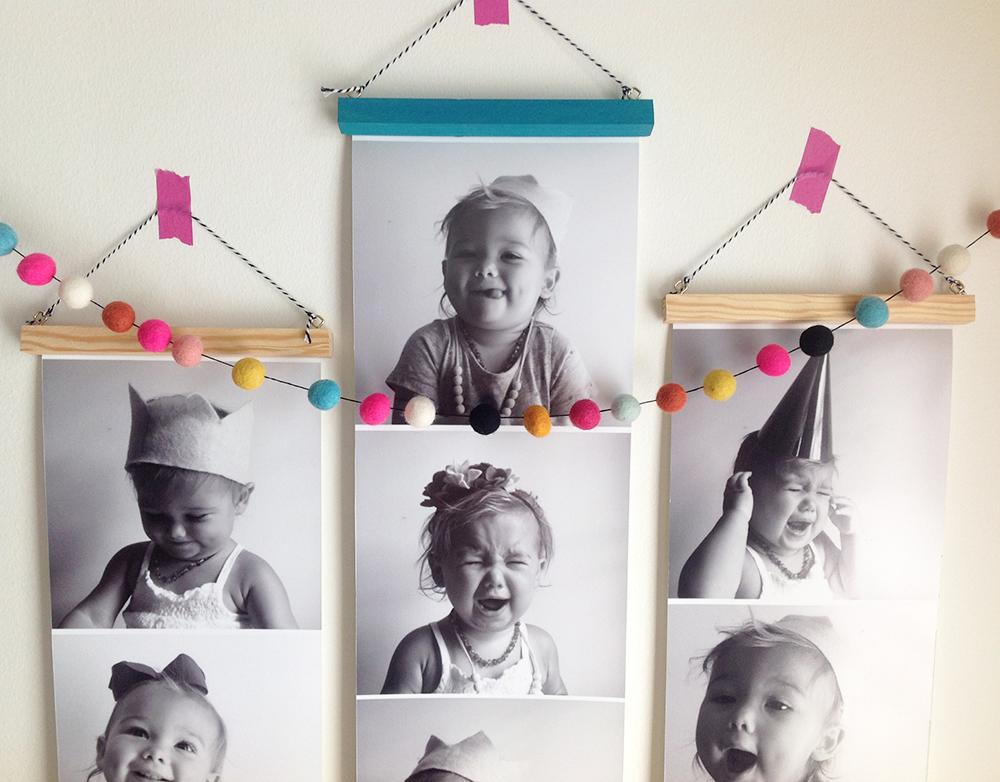
Joy Belle isn’t standing yet, so I moved our ottoman over to a blank wall. It was quite the job trying to get her to wear different hats, headbands, and accessories, while dancing on my head to make her smile. I snapped the photos with my iPhone, uploaded them to my computer, picked my favorites, upped the brightness and contrast, changed them to black and white, cropped them into square photos, and finally, organized them onto one page. There is probably an app for all of the edits and combining the photo together on a page, but I used Photoshop for both tasks. Photoshop offers a free trial and PicMonkey is a free photo editor option I’ve used in the past. I love the iPhone app, Afterlight for edits too.
Walgreens offers poster printing, plus day-of printing and pick-up options. I love using Walgreens because it’s right around the corner (literally!) and often they have photo discount codes online. I opted for the 24″x36″ poster print and cut off the extra paper to make it work for us. You can read the rest of the step-by-step tutorial on Lay Baby Lay here.
I purchased the 3/4″ wood trim at Lowe’s and they were helpful enough to cut them for me (into 8 1/2″ pieces). I believe the 8′ wood trim piece was $6-ish.
A helpful tip: pre-drill the holes for the brass, eye hooks. I recommend using a drill bit smaller than the eye hook screws. It simplifies screwing the eye hooks in.
Personally, I love the natural wood to complete the look, but I painted a couple of the wood pieces turquoise for Joy Belle’s room. It adds a nice pop of color to the black and white photos.
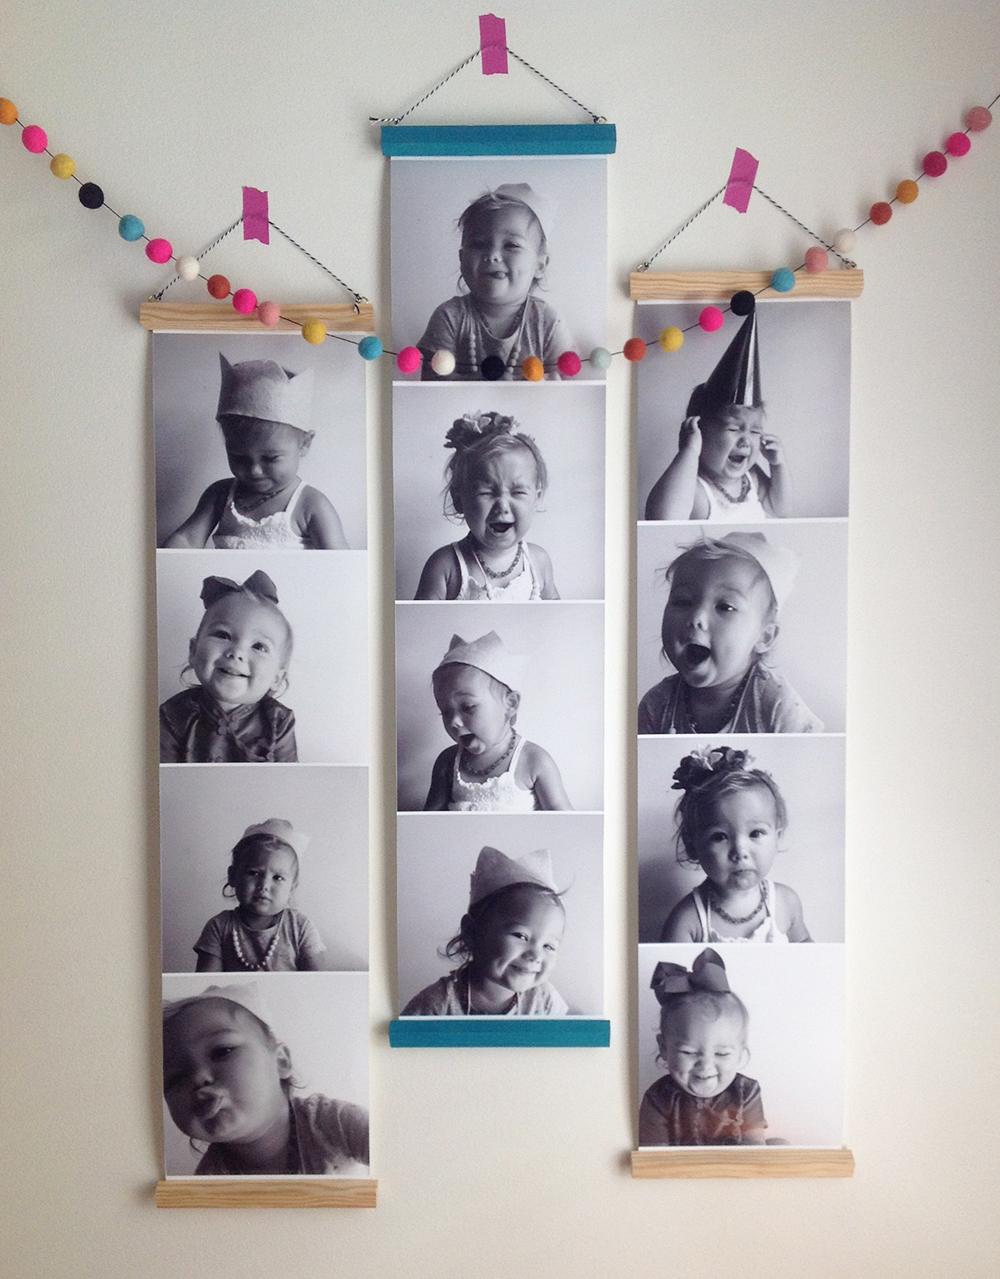
All in all, this project was about $30 – because I had most of the supplies on hand. Not only is it an inexpensive, DIY project, it’s the perfect gift for grandparents and other loved ones. We will definitely be making more in the future!
This DIY project was originally seen on LayBabyLay.com.