Prop Project #2 – homemade, chalk boards. With wood scraps, chalk board paint, Elmer’s wood glue, and colorful paint, the project began! I was convinced His and Her bright, chalk boards would be the perfect addition to our engagement session shoot. After completing the pendant banner, I was excited to have a second craft night. It quickly became a paint and wait kind of project.
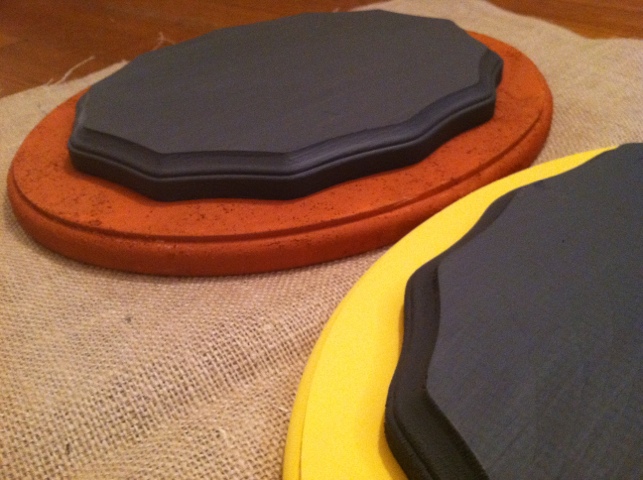
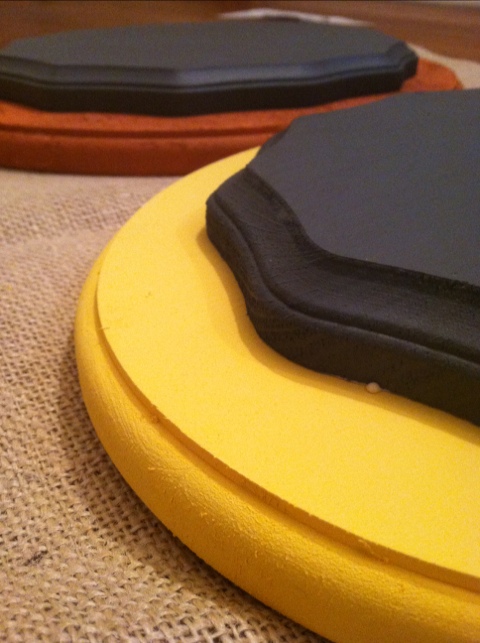
The end product was more than I expected. Our wedding colors brought the bam needed to make each chalk board pop with color. How do they look?
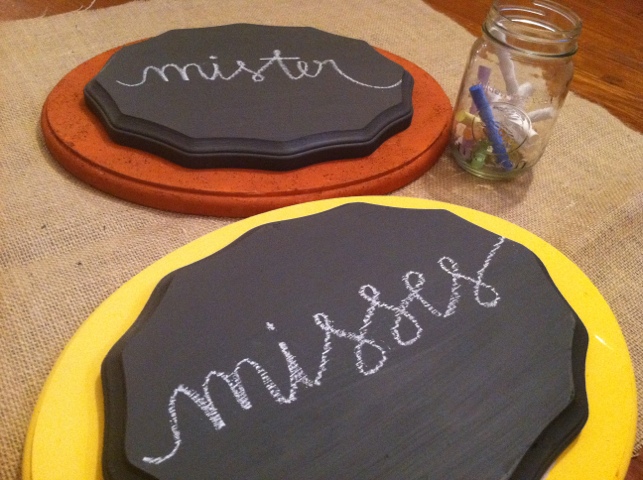
Want to make your own? Here are my step-by-step directions for homemade chalk boards.
Step 1: Choose 2 pieces of wood – one a bit larger than the other. (You can find fun shapes at most craft stores.)
Step 2: Paint the smaller piece with chalk board paint. (Chalk board paint is actually available in multiple color options!)
Step 3: Paint the larger piece with the color of your choice. (I used our wedding colors, which happen to be our favorite colors too.)
Step 4: Once both pieces of wood are dry, glue the smaller piece to the center of the larger piece.
Step 5: Scribble your favorite scripture, quotes, and more!

