It’s been a long time coming that I’ve wanted to replace our bedskirt with something a bit more neutral. (I sewed our older one in a print fabric that I loved at the time, but grew tired of quickly. You may remember from this post.) I was hesitant to sew another, only because it took forever + a day and I’m no sewing expert to begin with. Unfortunately, most bedskirts sold in stores are way over priced and frankly not what I had in mind. So off to Pinterest I went… I found this pin and was inspired, but couldn’t find a tutorial.
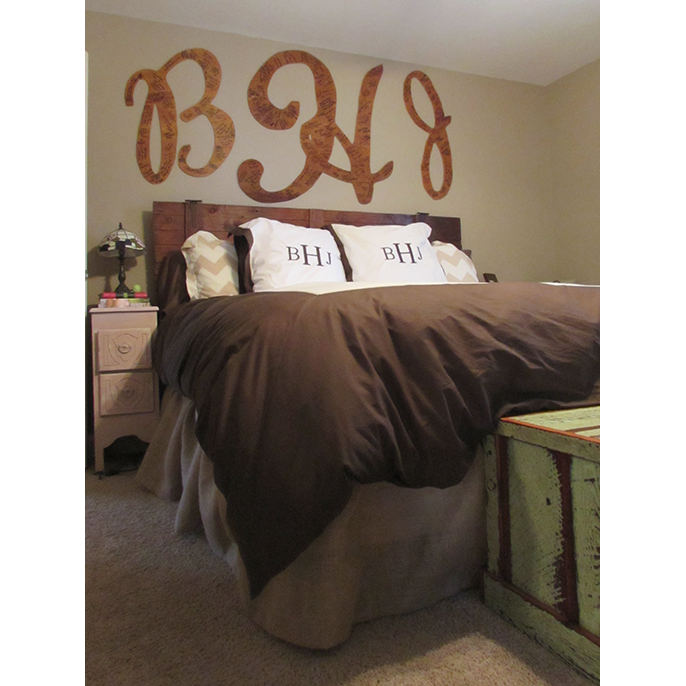
I put the project off for awhile, but once I bit the bullet – it was honestly a breeze! And using my Joann’s coupon, I only spent $23 on the entire project – which is amazing, seeing as most king-size bedskirts are about $50+ and not-my-style.
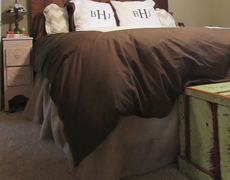
After posting this photo on Instagram, several of you messaged me about a tutorial – so here you go!
- burlap (or the fabric of your choice), 9 yards for a king-size bedskirt
- upholstery, twist pins (I used these)
- hot glue gun and glue sticks
Ta-da!
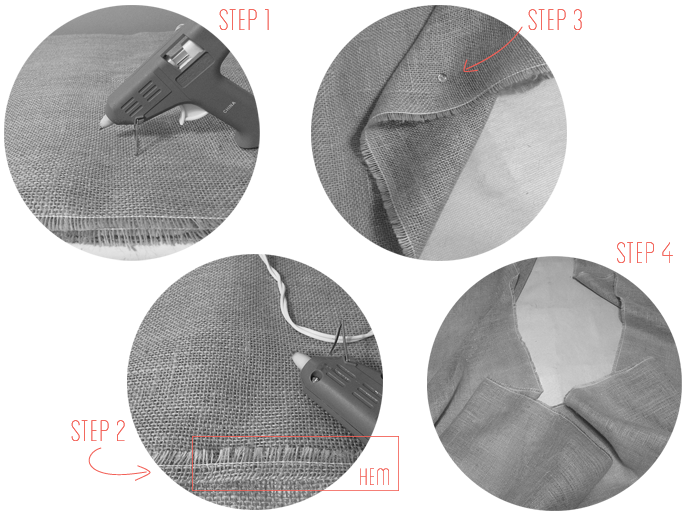
To keep the ends from fraying, I folded the edge of the fabric over about 1/2″ and hot glued together to hem the baseline. My sewing skills aren’t terrible, but I was looking for the easiest and fastest method.
The size of your bed will determine the amount of fabric you’ll need for this project. Here is my size guide:
King-size, 9 yards Queen-size, 7 1/2 yards Full-size, 7 yardsTwin-size, 6 yards
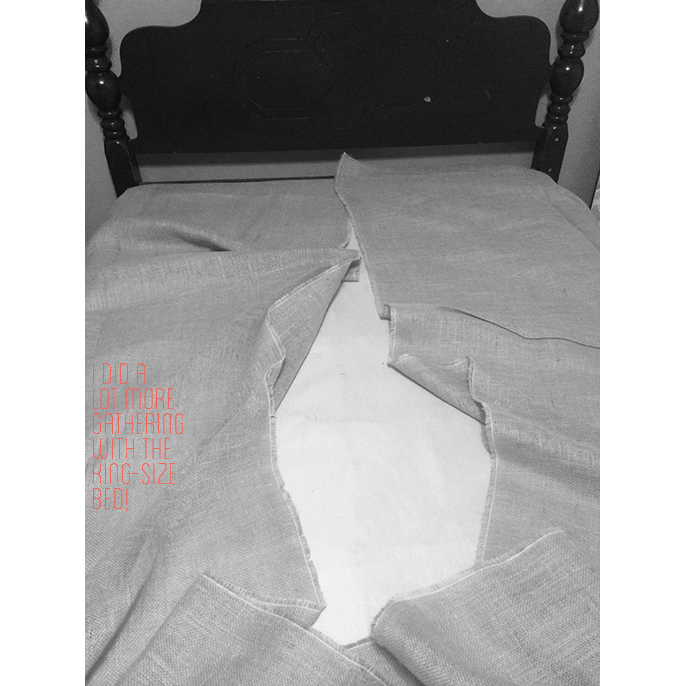
These measurements are based on a gathered, fabric bedskirt. If you want the fabric to lay smoothly, you can use less fabric.
*I didn’t actually snap step-by-step photos of my bedskirt (as seen on Instagram), but the one I made for our guest bedroom. It was so easy, I decided to try it again! I love the finished look of both.
If you’re looking for a simple and affordable way to change up a room, this is the tutorial for you. Any fabric will work and can drastically change the look of your bedding!
facebook // twitter // instagram // pinterest // bloglovin’

